So, you’ve been scrolling through social media, and a charming, tiny world tucked between two books caught your eye. Welcome to the captivating world of DIY book nooks! These miniature dioramas are the perfect blend of art, craft, and imagination. If you're excited to start but not sure where to begin, you're in the right place. This guide is designed to help you build your very first book nook and fall in love with a new hobby.
Step 1: Choose Your First Kit Wisely
The most important decision you'll make is choosing your first kit. For beginners, it’s best to start with a kit labeled "easy" or "beginner-friendly." Look for kits that have:
- Fewer pieces: A lower piece count means less time spent on assembly and less room for confusion.
- Simple construction: Kits with more straightforward shapes and fewer intricate, tiny details are easier to handle.
- Clear instructions: A good manual is your best friend. Make sure it has step-by-step illustrations or photographs.
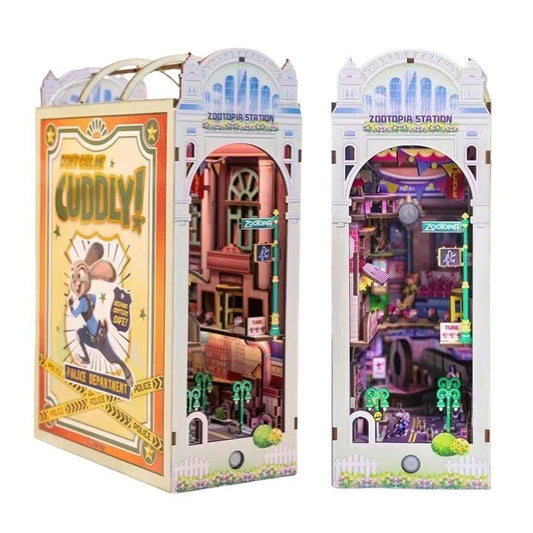
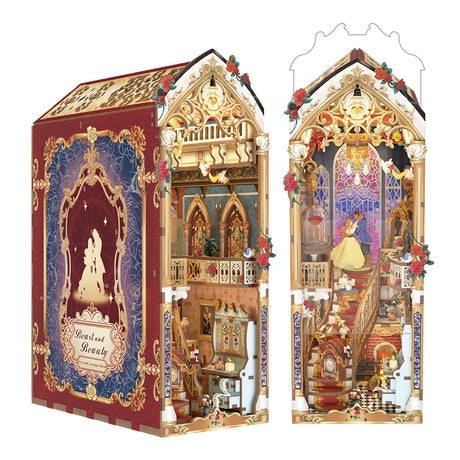
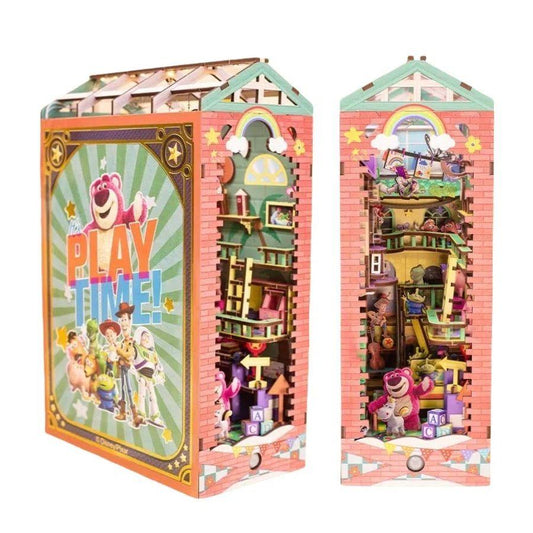
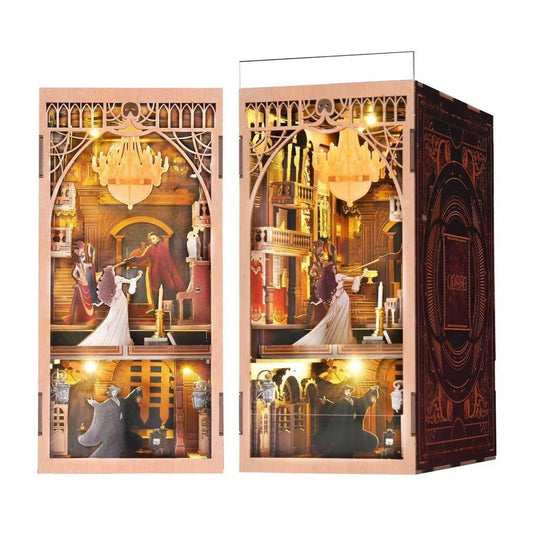
Our First-Time Builder Collection is a great place to start! We've handpicked kits with beginners in mind, so you can build with confidence.
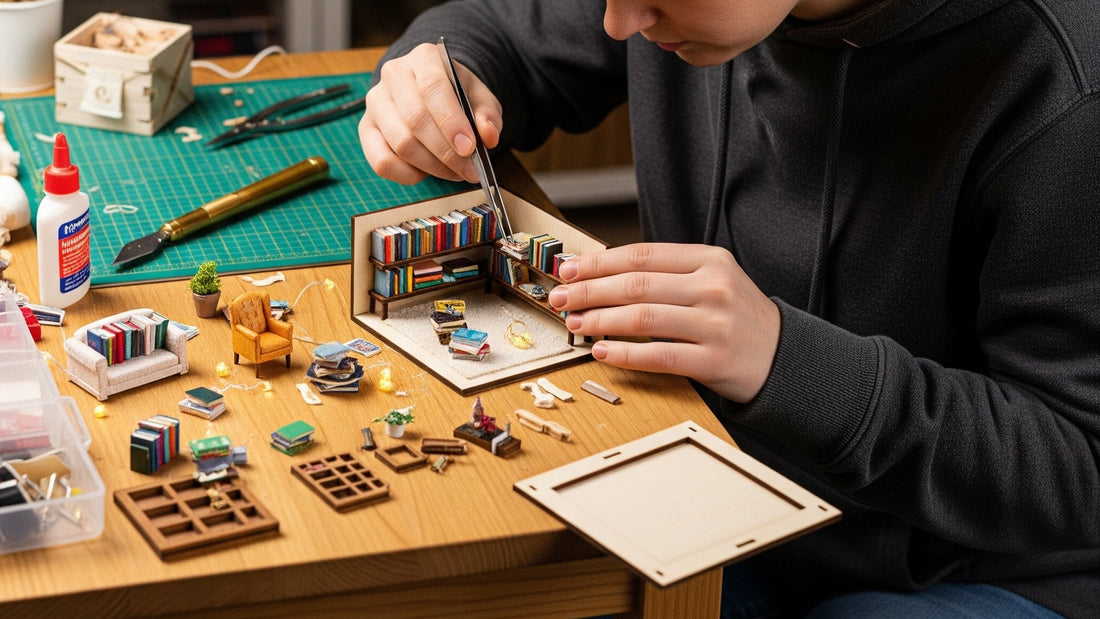
Step 2: Gather Your Tools
While many kits come with everything you need, having a few extra tools on hand will make your life much easier and your final product look much cleaner.
- Precision Tweezers: The most essential tool! These are perfect for picking up and placing tiny pieces with accuracy.
- Craft Glue: While some kits use snap-fit pieces, a good fast-drying craft glue (like Tacky Glue) is great for securing parts for a stronger hold.
- A Small Hobby Knife or Scissors: Useful for cutting out pieces from their sheets cleanly.
- A Ruler or Straight Edge: For making precise cuts or scoring folds.
- A Cutting Mat: Protects your table surface from scratches.
Step 3: Set Up Your Workspace
A tidy workspace is a happy workspace. Find a well-lit area with enough room to spread out your pieces. Keep a small bowl or container nearby to hold tiny parts, so they don’t get lost. Take a moment to sort your pieces according to the manual—this little bit of organization will save you a lot of time and frustration later on.
Step 4: The Golden Rule: Follow the Manual!
Book nook kits are designed to be built in a specific sequence. Don’t jump ahead! Read the instructions carefully, step-by-step. Don't glue anything until you are certain you have the right piece in the right place. It's often helpful to do a "dry fit" first, where you place the pieces without glue to make sure they fit perfectly.
Step 5: Don't Be Afraid to Get Creative
While the kit provides a blueprint, the final creation is uniquely yours. Feel free to add your own personal touches! You can paint a wall a different color, rearrange the furniture, or add tiny details you've collected. This is your chance to express your personality and truly make the book nook your own.
Step 6: TroUbleshooting & Enjoying the Process
Patience is key. You might get frustrated, lose a tiny piece, or make a mistake—and that’s completely normal! The joy of a DIY project is in the process itself, not just the finished product. Take a break if you need to, and remember that every builder has faced a challenge.
Once you’re finished, take a moment to admire your hard work. You've just created a stunning piece of art with your own two hands. Now, find the perfect spot on your bookshelf, sit back, and enjoy your new miniature world.
Ready to start? Explore our First-Time Builder Collection and find the perfect kit to begin your journey!