
Welcome to our DIY Book Nook Kit blog! In this guide, we will take you through the exciting process of creating your own enchanting miniature book nook. Our book nook kits provide everything you need to bring your favorite worlds to life. So, let's dive in and discover how you can embark on this creative journey!
Step 1: Gather Your Materials To begin.
Make sure you have all the necessary materials from your book nook kit. The typical contents of a kit may include a wooden box, miniature accessories, LED lights, glue and detailed instructions. Ensure that you have a well-lit and spacious workspace to make the process enjoyable.
Step 2: Choose Your Theme
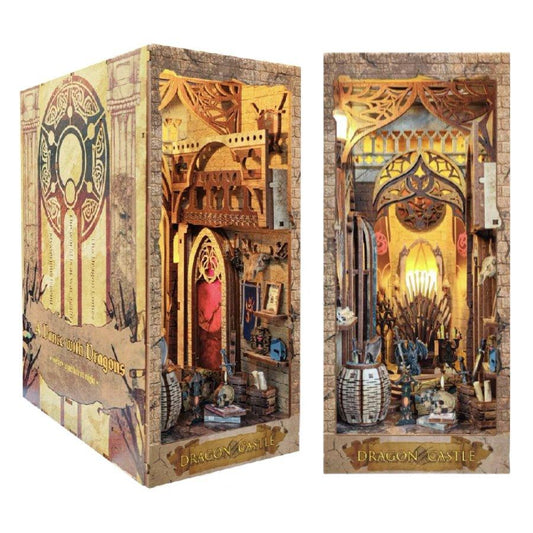
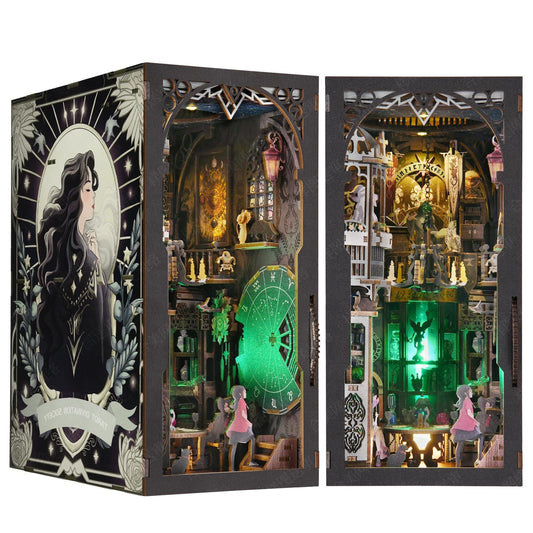
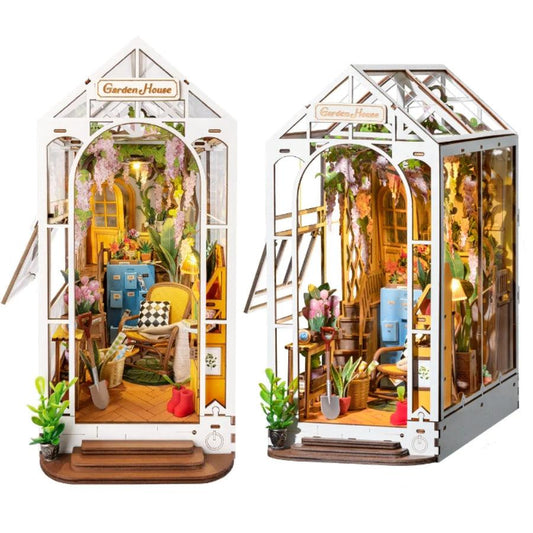
Select a theme that resonates with you, such as a magical library, a cozy café, or a whimsical fairy tale scene. Browse through the miniature accessories provided in your kit to find the perfect elements to match your theme. Additionally, consider incorporating elements from your favorite books to personalize your book nook.
Step 3: Assemble the Box
Follow the instructions provided in your kit to assemble the wooden box. This will serve as the foundation for your book nook. Use the glue provided to secure the pieces together, and ensure that everything fits snugly. Take your time with this step to ensure a sturdy and well-constructed base.
Step 4: Paint and Decorate
Unleash your creativity by painting the inside and outside of the box. Choose colors that complement your chosen theme and create the desired atmosphere. You can add texture, gradients, or even patterns to make it more visually appealing. Once the paint is dry, begin adding the miniature accessories to bring your book nook to life.
Step 5: Arrange the Accessories
Carefully arrange the miniature accessories in your book nook, considering their sizes and heights. Experiment with different placements until you achieve the desired composition. Place the LED lights strategically to add warmth and create a cozy ambiance within the nook. Be patient during this step, as it may take a few tries to achieve the perfect arrangement.
Step 6: Final Touches and Details
Once you are satisfied with the layout of your book nook, take a step back and examine it from different angles. Make any necessary adjustments and add any extra details you desire, such as tiny books, plants, or small figurines. These final touches will add depth and charm to your creation.
Step 7: Display and Share
Congratulations on completing your DIY book nook! Find a special place to display your masterpiece, whether it's on a bookshelf, a side table, or as a centerpiece. Take pride in your creation and share it with fellow book lovers. You can post pictures on social media, join online book nook communities, or even gift your creation to a fellow bookworm.
Conclusion:
Creating your own DIY book nook is a rewarding and imaginative journey that allows you to bring your favorite literary worlds to life. With the help of our book nook kits and this step-by-step guide, you are now equipped to embark on your creative adventure. Enjoy the process, let your imagination soar, and watch as your miniature world takes shape.
Happy crafting!