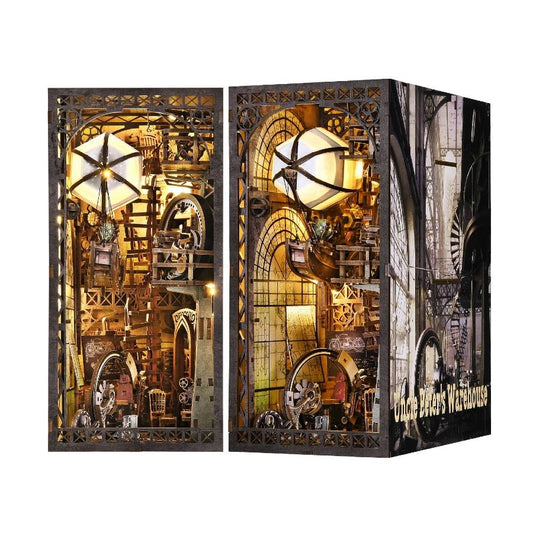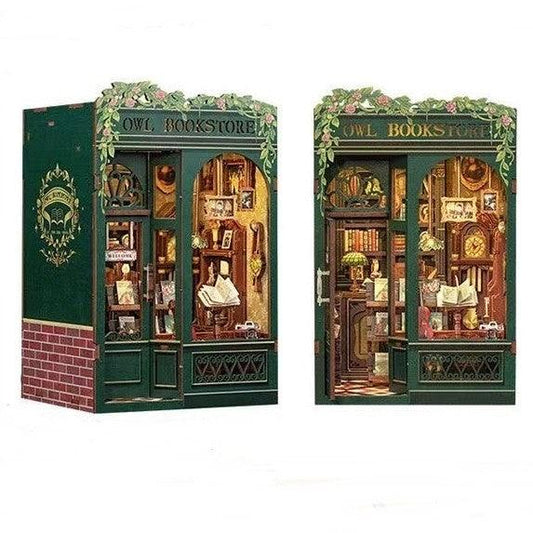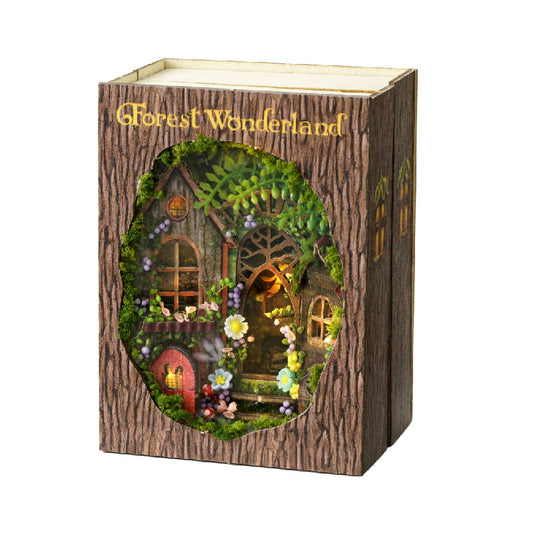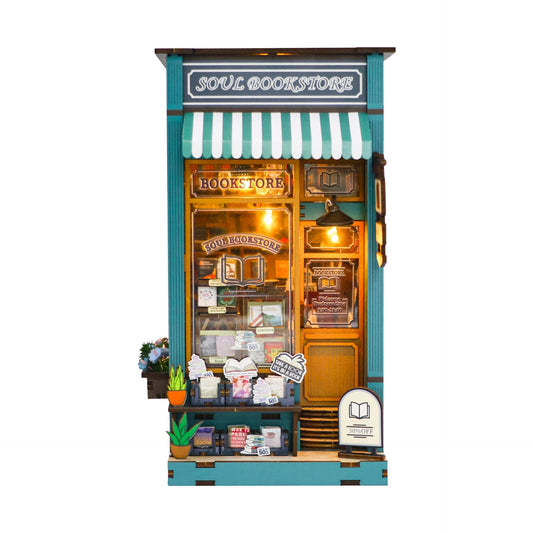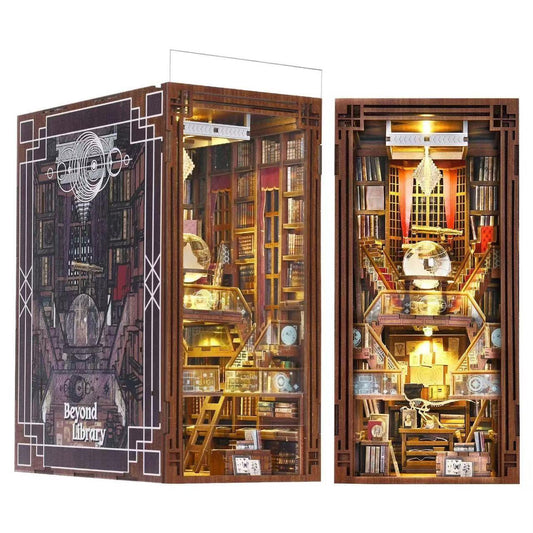

Building your first DIY book nook kit is more than just assembling tiny pieces of wood and paper. It is the process of creating a small world with your own hands — a glowing miniature scene that tells a story and brings warmth to your bookshelf.
For many beginners, the idea of building a miniature world can feel a little intimidating. Hundreds of tiny pieces, delicate decorations, and detailed instructions may seem complicated at first.
But the truth is simple:
A book nook kit is designed to be enjoyed slowly.
With a little patience, a comfortable workspace, and the right approach, anyone can create a beautiful miniature scene — even if it is your very first DIY project.
In this guide, we’ll walk you through everything you need to know before starting your first DIY book nook kit, from preparing your workspace to adding the final warm glow.
What Is a DIY Book Nook Kit?
A DIY book nook kit is a miniature scene that you build yourself and display between books, on a shelf, or in a cozy corner of your home.
Unlike a finished miniature decoration, a DIY kit lets you experience the creative journey from the first piece to the final display.
Most book nook kits include:
- Pre-cut wooden pieces
- Miniature furniture and decorations
- Printed details such as signs, books, and wallpaper
- LED lighting components
- Assembly instructions
- Small decorative accessories
The finished result is a tiny world — a hidden bookstore, a peaceful garden, a warm café, or a magical little room that glows softly in the evening.
Is a DIY Book Nook Kit Difficult for Beginners?
One of the most common questions beginners ask is:
“Can I build a book nook kit if I have never done miniature crafts before?”
The answer is yes.
Most beginner-friendly book nook kits are designed so that you can follow the instructions step by step. You do not need professional crafting skills or previous model-building experience.
However, a book nook kit is not a quick five-minute craft project.
The beauty comes from slowing down.
You may spend an evening arranging tiny books, placing miniature plants, adjusting furniture, or adding small details that make the scene feel alive.
Think of it less like completing a task and more like creating a peaceful creative ritual.
Step 1: Prepare Your Workspace
Before opening your kit, prepare a comfortable workspace.
You do not need a large craft room. A small table with good lighting is enough.
A good beginner setup includes:
A Clean Surface
Tiny pieces can easily get lost, so choose a clear table or tray where everything stays organized.
Good Lighting
Small details are easier to assemble under bright, comfortable lighting.
A desk lamp is especially helpful when working with miniature decorations.
Small Containers
Use small bowls or trays to separate:
- Wooden pieces
- Tiny accessories
- Decorative parts
- Hardware components
Keeping pieces organized will make the building process much more enjoyable.
Step 2: Read the Instructions Before Building
Many beginners make the same mistake:
They start assembling immediately.
Instead, spend a few minutes looking through the instructions first.
Check:
- The order of assembly
- Which parts belong together
- Where the lighting components are placed
- Which pieces need extra care
Understanding the overall structure first will help prevent mistakes later.
A miniature scene is like a small room or building. It is much easier to decorate after the foundation is complete.
Step 3: Organize Your Miniature Pieces
Before you begin, sort your materials.
Many DIY book nook kits include dozens or even hundreds of small components.
A simple system works well:
Group Similar Pieces Together
Separate:
- Walls and structural pieces
- Furniture
- Decorative items
- Lighting parts
Keep Tiny Accessories Safe
Small items like books, plants, signs, and ornaments are easy to misplace.
A small container or organizer can save a lot of frustration.
Step 4: Build the Main Structure First
The first stage is usually the foundation of your miniature world.
Depending on the design, this may include:
- Side panels
- Walls
- Floors
- Shelves
- Main architectural elements
Take your time during this stage.
The structure determines how everything else fits together.
Avoid rushing or forcing pieces together. If something does not fit, check the instructions again before applying pressure.
Step 5: Add the Tiny Details
This is where the magic begins.
After the main structure is complete, you can start adding personality:
- Tiny books on shelves
- Miniature plants
- Small signs
- Furniture
- Decorative objects
- Window details
These small elements transform a simple model into a tiny story.
This is also the most relaxing part of the process.
Many builders enjoy spending quiet evenings adding one small detail at a time.
Step 6: Install the Lighting
Warm lighting is one of the most charming features of a book nook.
A small LED light can completely change the atmosphere.
When the lights turn on, your miniature scene becomes:
- A cozy reading corner
- A glowing street at night
- A hidden garden
- A tiny world waiting to be discovered
Before closing the structure, always test the lighting system to make sure everything works properly.
Step 7: Add Your Personal Touch
Although DIY kits provide a designed scene, there is always room for creativity.
You can personalize your miniature world by:
- Adjusting small decorations
- Adding extra plants
- Changing small arrangements
- Creating your own display style
Your finished book nook does not have to look exactly like the example.
The most special miniature worlds are the ones that feel personal.
How Long Does It Take to Build a Book Nook Kit?
The assembly time depends on:
- The complexity of the design
- The number of pieces
- Your experience level
- How much attention you give to details
A smaller beginner kit may take a few hours, while more detailed miniature scenes may take several evenings.
There is no need to rush.
Many miniature lovers enjoy building their projects slowly — a little progress after work, during weekends, or on quiet evenings.
What Tools Do You Need for Your First Book Nook Kit?
Most DIY book nook kits include the main materials, but a few basic tools can make the experience easier.
Helpful supplies include:
- Craft glue
- Small scissors
- Tweezers
- Precision cutter
- Ruler
- Small storage containers
- Extra batteries for LED lighting (if required)
A comfortable workspace is just as important as the tools themselves.
Common Beginner Mistakes (And How to Avoid Them)
1. Building Too Quickly
Miniature crafts reward patience.
Slow down and enjoy the process.
2. Losing Small Pieces
Always organize tiny parts before starting.
3. Ignoring the Instructions
Even experienced crafters benefit from checking the assembly order.
4. Not Checking the Final Display Space
Before choosing a kit, consider where you want to display it.
Measure your shelf or desk space to make sure the finished piece fits perfectly.
DIY Book Nook Kit vs. Miniature House Kit: Which One Should You Choose?
Both are wonderful ways to create a tiny world, but they offer different experiences.
DIY Book Nook Kit
Best for:
- Bookshelf decoration
- Readers
- Cozy interior lovers
- People who enjoy hidden scenes
Book nooks usually create the feeling of looking into a small world between books.
DIY Miniature House Kit
Best for:
- Larger displays
- Interior design lovers
- Collectors
- People who enjoy open scenes
Miniature houses often feature cafés, gardens, shops, or rooms that can be viewed from different angles.
Both offer the same joy:
Creating something beautiful with your own hands.
Where Should You Display Your Finished Book Nook?
A finished book nook can become a charming part of your home.
Popular display ideas include:
- Between your favorite books
- On a reading shelf
- Beside a desk lamp
- On a nightstand
- Inside a display cabinet
- In a cozy reading corner
With warm lighting, your miniature world can become a small evening decoration that adds personality to your space.
Final Thoughts: Create a World in Your Hands
Your first DIY book nook kit is not just about the finished decoration.
It is about the quiet moments spent building.
It is about discovering tiny details, learning new skills, and creating something meaningful with your own hands.
The first time you switch on the light and see your miniature world glowing, you will understand why so many people fall in love with this hobby.
Start small. Take your time. Enjoy every little detail.
Because every tiny world begins with one small piece.
Ready to Build Your First Tiny World?
Explore DIYSLAND’s collection of beginner-friendly DIY book nook kits and miniature house kits — designed for cozy evenings, creative moments, and beautiful handmade displays.
Create a tiny world. Bring a little magic home.