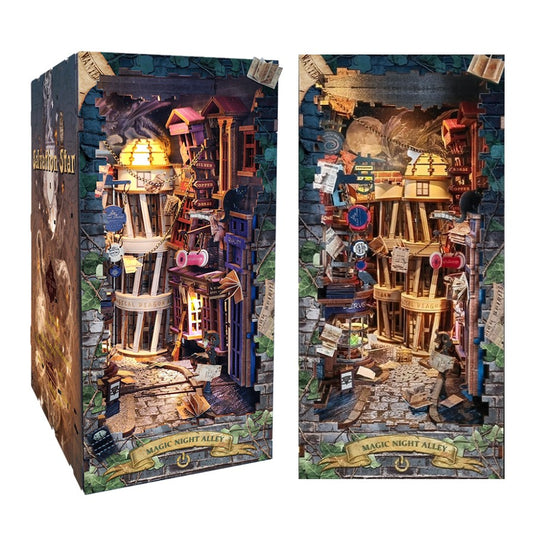
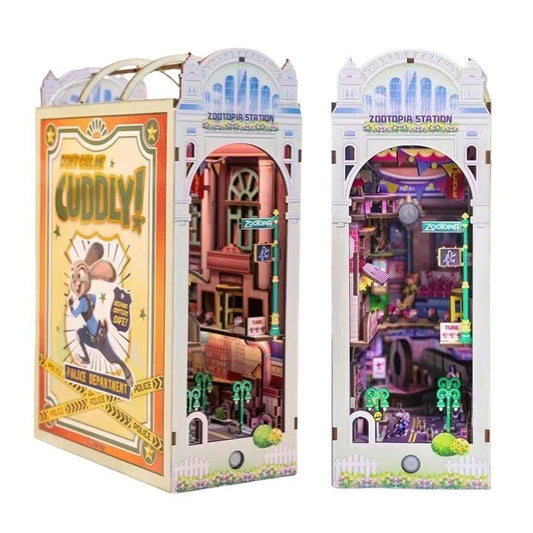
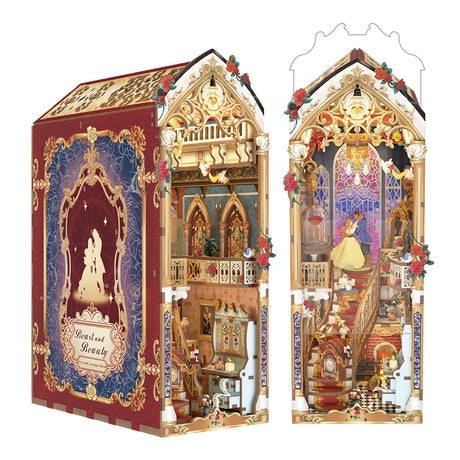
So, you've unboxed your beautiful new DIY Book Nook or Miniature House Kit, cleared your space, and you're ready to create! But wait... did a piece snap? Is a light not shining? Don't worry, even the most seasoned crafters run into little bumps.
We're here to help! Most "problems" are actually common hurdles with simple solutions. Here's a quick guide to troubleshooting your DIY miniature kit and getting back to the fun.
1. "A Piece Snapped! What Do I Do?" (Oh No, Delicacy!)
It happens! Miniature pieces can be delicate. Don't panic.
-
The Quick Fix:
- For small, clean breaks: A tiny dab of fast-drying craft glue (like super glue or a strong PVA glue) is your best friend. Apply it sparingly with a toothpick to the broken edges, press together firmly for a few seconds, and let it dry completely.
- For larger or structural breaks: If it's a critical piece, first try the glue fix. If it still feels weak, you might need a small piece of balsa wood or thick cardstock as a splint on the less visible side for added support. Clamp or hold it until dry.
- Prevention Tip: Always apply gentle, even pressure when removing pieces from their sheets and assembling. If a piece resists, re-check the instructions to ensure you're using the correct part and orientation.
2. "The Pieces Don't Fit Together!" (The Puzzle Predicament)
Sometimes a joint feels too tight, or pieces just don't want to align.
-
The Quick Fix:
- Check the Manual: Double-check the step-by-step manual to ensure you're using the right pieces and putting them together in the correct order. Many kits have similar-looking parts!
- Gentle Sanding: If a peg is too big for a hole, use a fine-grit sandpaper or a small nail file to gently sand down the edges of the peg or widen the hole slightly. Test fit often.
- Deburring: Sometimes, tiny burrs or leftover wood fibers can prevent a clean fit. Use the tip of a craft knife or sandpaper to carefully clean the edges.
- For Loose Fits: If a joint is too loose, a tiny drop of craft glue will secure it.
- Prevention Tip: Before forcing anything, take a breath and re-read the instructions. Dry-fit pieces if possible.
3. "The LED Lights Aren't Working!" (Dimming the Sparkle)
The lights are crucial for bringing your miniature house or book nook to life!
-
The Quick Fix:
- Check Power Source: Ensure your batteries are new and correctly inserted (if battery-powered), or that your Type-C power cord (if applicable) is fully plugged into a working USB port.
- Inspect Connections: Double-check every wire connection. Are wires securely twisted or plugged into the correct ports? Are there any loose wires or broken connections?
- Bulb/LED Check: Gently ensure each tiny LED bulb is firmly seated in its holder. Sometimes a loose connection is all it takes.
- Hidden Switches: Remember the hidden touch switch in the tiny mushroom (or similar hidden switch for your specific kit)? Make sure you're activating it correctly!
- Prevention Tip: Handle wires gently. Route them carefully according to the instructions to avoid pinching or breaking them during assembly.
4. "My Stickers Aren't Sticking Right!" (Paper Predicaments)
Whether it's flooring or wall decals, paper stickers can sometimes pose a challenge.
-
The Quick Fix:
- Clean Surface: Ensure the surface you're applying the sticker to is clean and dust-free.
- Smooth Application: Apply from one edge and slowly smooth it down with your finger or a soft cloth to avoid air bubbles.
- Reactivation: If an edge isn't sticking, you can sometimes use a tiny, tiny dab of glue stick or a brush-on craft glue under the edge, then press firmly.
- Trim Excess: If a sticker is slightly off, wait for it to fully adhere, then carefully trim any excess with a sharp craft knife for a clean finish.
- Prevention Tip: Take your time. Don't peel the entire backing off at once. Peel a small section, align, stick, and then peel more, pressing as you go.
5. "I'm Stuck on a Step!" (The Instruction Block)
It's easy to get lost in a detailed manual, even with step-by-step instructions.
-
The Quick Fix:
- Take a Break: Step away from your kit for 15-30 minutes. A fresh pair of eyes can often spot the solution immediately.
- Re-read Carefully: Go back to the previous step and re-read the current one slowly, looking closely at the diagrams.
- Identify the Part Numbers: Confirm you have the exact part numbers mentioned in the current step.
- Look Ahead: Sometimes, looking at the next few steps can clarify what the current step is trying to achieve.
- Search Online: Check our product page for more photos or videos, or search for reviews/builds of your specific kit online. You might find a video walkthrough!
- Prevention Tip: Read through a few steps ahead before starting. Keep your workspace organized, and sort your pieces as much as possible.
Don't Give Up!
Building a DIY miniature kit is a rewarding journey, and overcoming these small challenges is part of the fun! Remember, every finished miniature house or book nook is a unique creation, a testament to your patience and creativity.
If you've tried these fixes and are still stuck, don't hesitate to reach out to our customer support team – we're always happy to help you bring your tiny worlds to life! Happy crafting!


